Ski Tuning – A Beginner Guide to How to Tune Your Skis
Learning to tune your skis or snowboard is a right of passage.
Caring for and maintaining your equipment is the defining difference between a weekend warrior and someone who truly loves the sport.
Don’t get me wrong, plenty of people (ski instructors included) know nothing about ski tuning. I’ve even taught a few.
Learning to repair, sharpen, and wax your skis or snowboard has tremendous benefits.
- It’s cheaper: Once you have your tuning kit, it’s pretty much free. Taking them to the ski shop will cost you $20 -$60. Over a season, it adds up.
- Understand your equipment: Learn the ins and outs of your equipment, what edge angle is, how it impacts performance, what waxes are best, etc.
- Appreciate your equipment: Once you put the time and effort into tuning your skis, you will think twice before hitting that rock.
- Ski/Snowboard better: Sharp edges and fresh wax make for a better experience on the hill.
So, let’s rip the bandaid off and get started!
When Not To Tune Your Skis
While I usually tune my skis, there are times when even I would consider taking my skis to the shop.
Significant Damage
I would head to a reputable shop whenever there is significant damage to the ski that I’m not sure I can repair.
- Delamination (the ski layers separating)
- Top Sheet Peeling
- Deep Core Shots (you can see wood)
- Significantly bent edge
- Core Shots Next to The Edge (these can be hard to repair)
The Base is Not True
Sometimes, the base is no longer square or true and must be reset. You can do this at home with the right tools, but honestly, it’s easier to take your skis to the shop and have a machine do it for you.
Resetting The Ski
I like to take my skis into the shop once every couple of years. I get a base grind done and have the ski edges sharpened.
Your mileage may vary, but skiing 100+ days a year, my skis usually last up to 1 or 2 seasons.
Resetting the ski is like going to the dentist to get your teeth cleaned once a year.
What is Ski Tuning
Ski tuning isn’t rocket science; there are three main procedures: base repair, edge sharpening, and base waxing.
The Basics
These are the fundamental elements you need to master to keep your gear in tip-top shape.
- Damage repair: fixing gouges or chips in your skis’ or snowboard’s base or top sheet.
- Edge sharpening: Sharpening the side and base edges to grip the hill better.
- Wax application: Ski wax is applied to the base so your skis glide faster in the snow.
Ski Tuning Tools
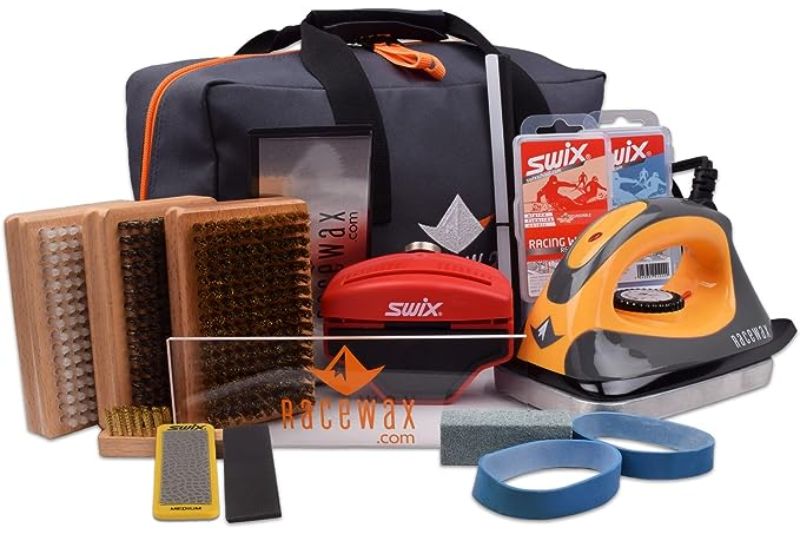
When it comes to ski tuning, the right tools are paramount. Most ski shops will sell tools, or you can buy a ski tuning kit online.
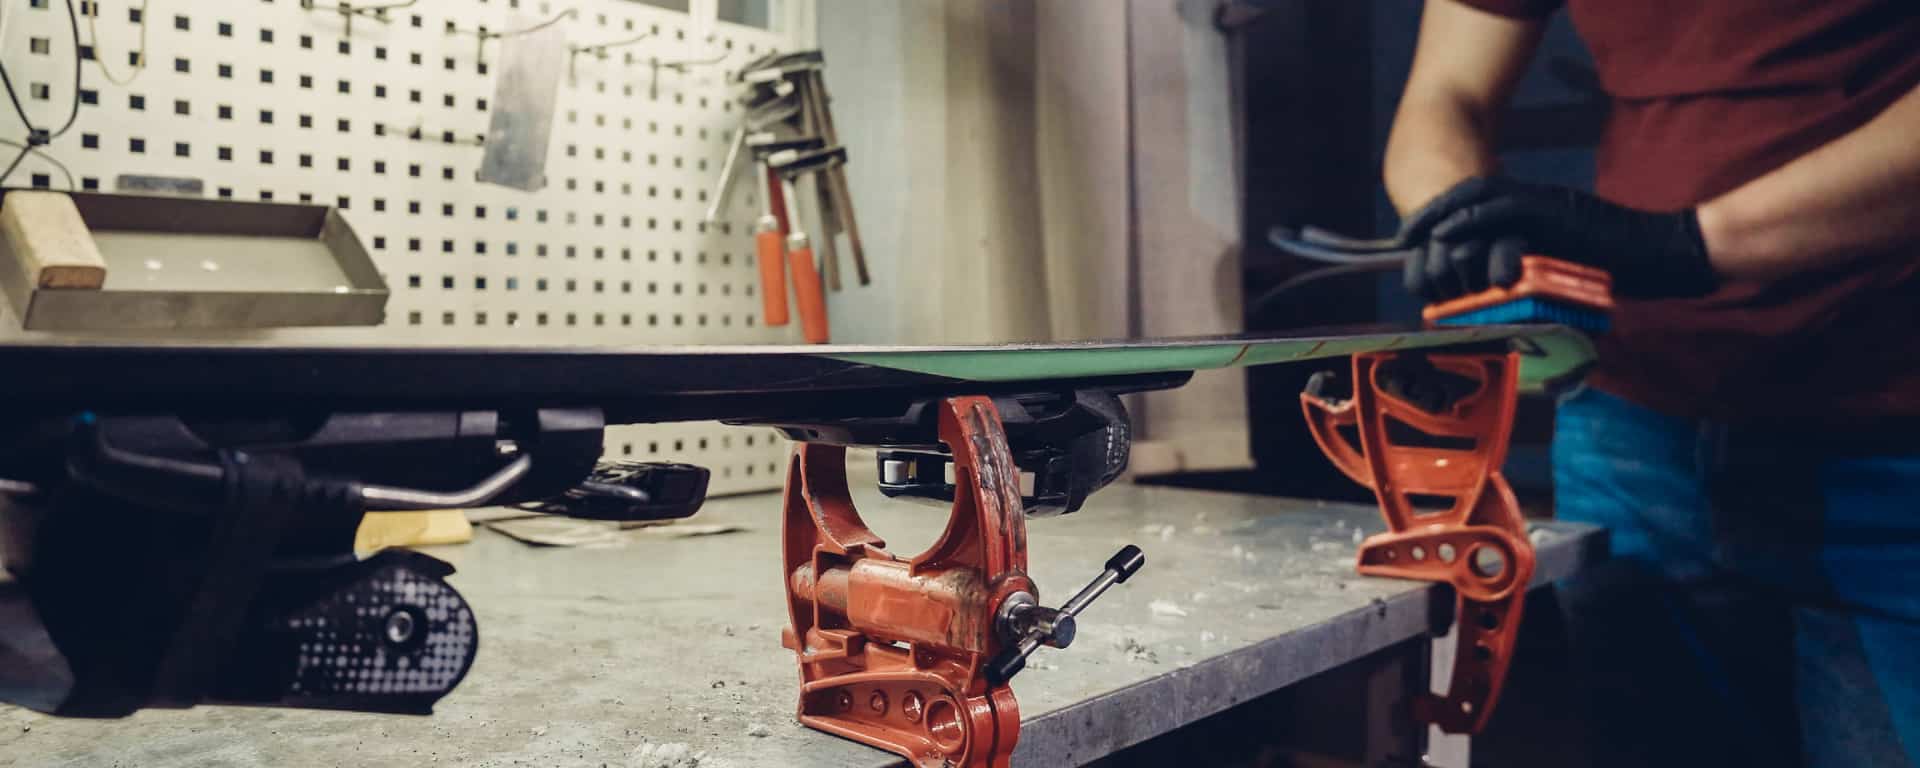
Workbench and Vise
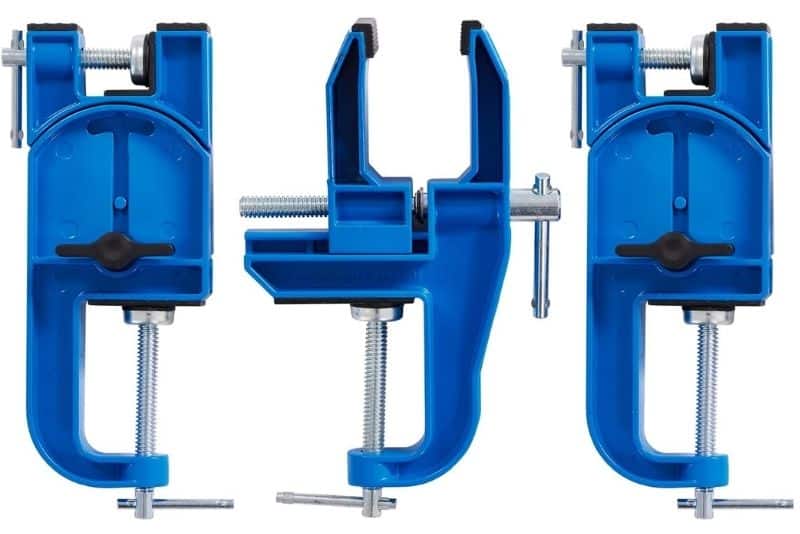
If you have the space and tune your equipment regularly, like I do (I own 15 pairs of skis and 5 snowboards), a bench and clamps are well worth the investment.
If you are starting, you can always use the backs of 2 chairs. I no longer have a workbench (not enough space). I often use chairs as my tuning bench. It could be better, but it works.
Hot Waxing Irons

A waxing iron melts and spreads the wax on the ski. Any flat iron will do. I have used ski waxing and old irons; they both do the trick. The key is it has to have a flat bottom. Most irons these days have holes in them, which is not ideal.
Oh, and don’t expect to use the iron on your work shirts afterward, or you’ll be heading to the office with wax everywhere.
Waxing iron search results – https://amzn.to/3E934Dj
Scrapers
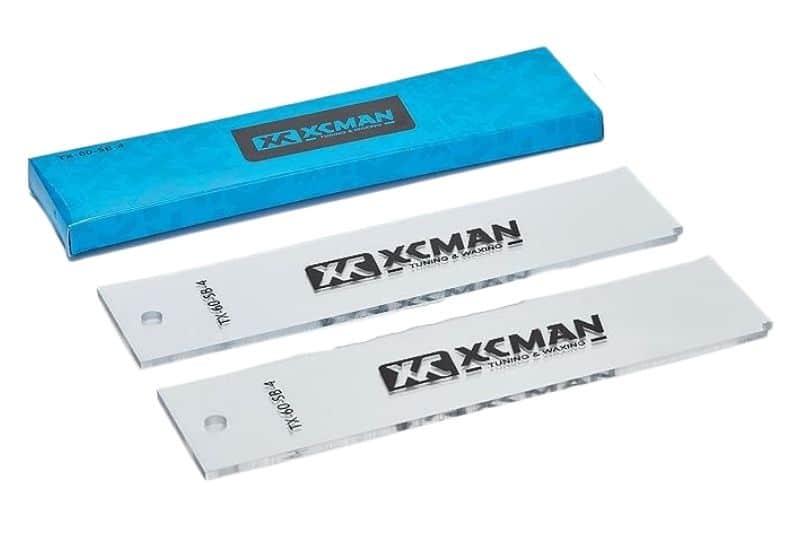
You will need a scraper to remove excess wax after it has dried—anything with a flat, sharp edge works. I have a plexiglass scraper from Swix that I have used for years, but I have also used old metal rulers and even the back of an old saw blade. You get the picture.
Brushes
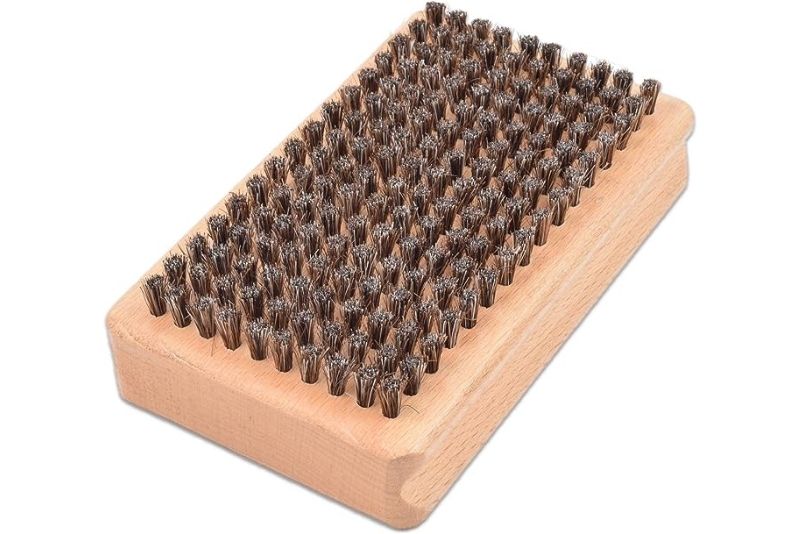
There are two types of brushes: nylon and brass. I usually finish my skis with a brush, but you can get away without doing this in a pinch.
Files & Stones
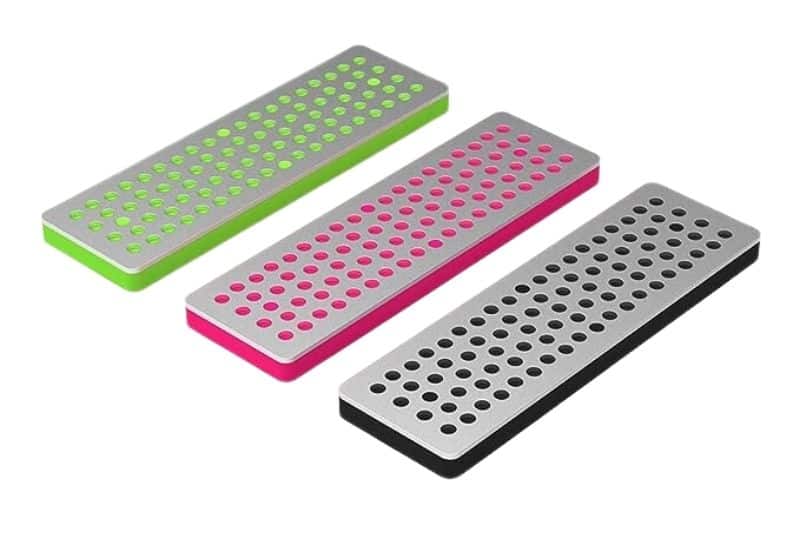
You use a file to sharpen the edges of your ski and snowboard. A file is usually quite coarse and is used to set your edge or repair edge damage.
Stones are excellent for fine-tuning and polishing the edges of your ski and snowboard. They come in different shapes, sizes, and grits (coarseness).
Edge Guide
The edge or file guide sets the angle of your file or diamond stone. Selecting the correct angle for your ski/snowboard is essential, as this will affect the performance of your ski edges.
There are two types of edge guides.
Base Edge Tool
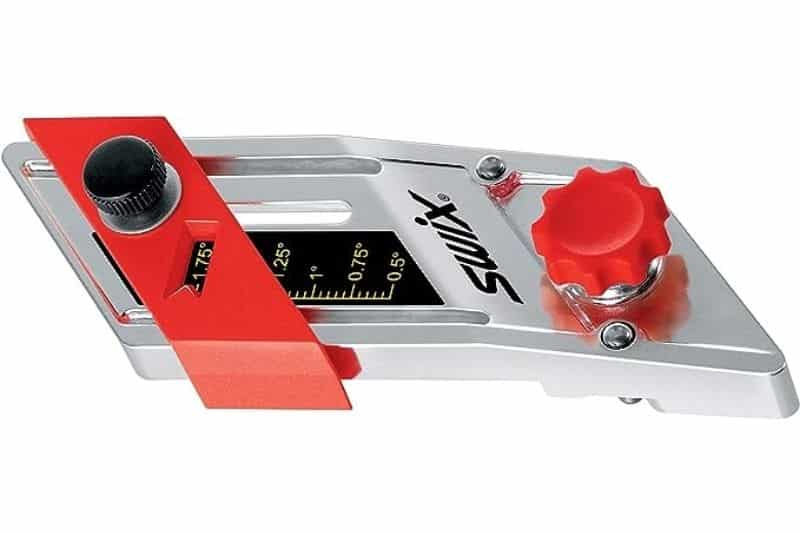
This tool sets the angle of your base edge from 0.5° to 1.5°.
Side Edge Tool
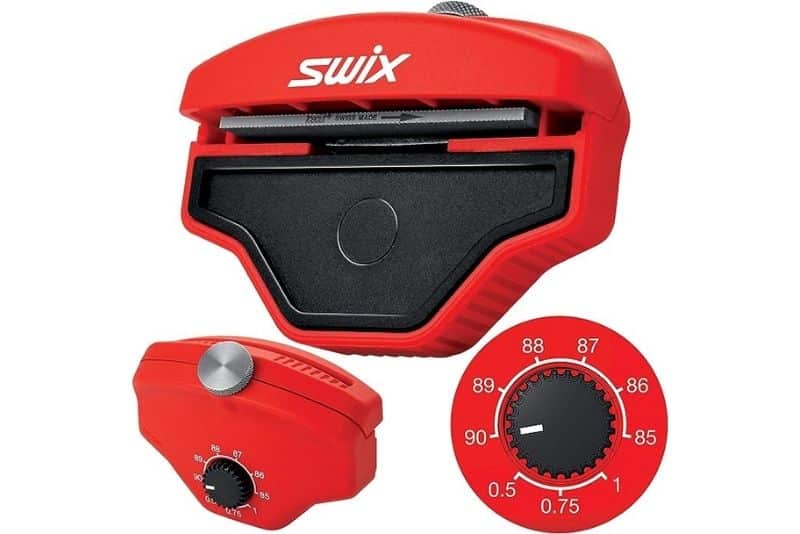
This tool sets the angle of your side edge from 87°to 90°.
Ski Tuning Guide
This step-by-step guide will have your ski and snowboards tuned and ready for the hill in no time.
Step 1 – Check For Damage
The first step when tuning your skis is to thoroughly examine them for any damage that needs to be taken care of.
Check:
- The Top Sheet: Look for dings or scrapes through the top sheet. You’re looking to prevent water from getting to the wood core and causing damage. If you find anything, you can patch it with silicon.
- The Base: Look for deep gouges or core shots. You will need to repair these with P-Tex.
- The Edges: Identify any damage to the edges. You must go to a local outdoor shop if the edge is bent or pulled out of the ski. Depending on the level of damage, the ski may not be fixable.
- The Bindings: I always do a double check of the bindings to make sure everything is in working order. Check for missing screws or bolts and that everything is tightened correctly.
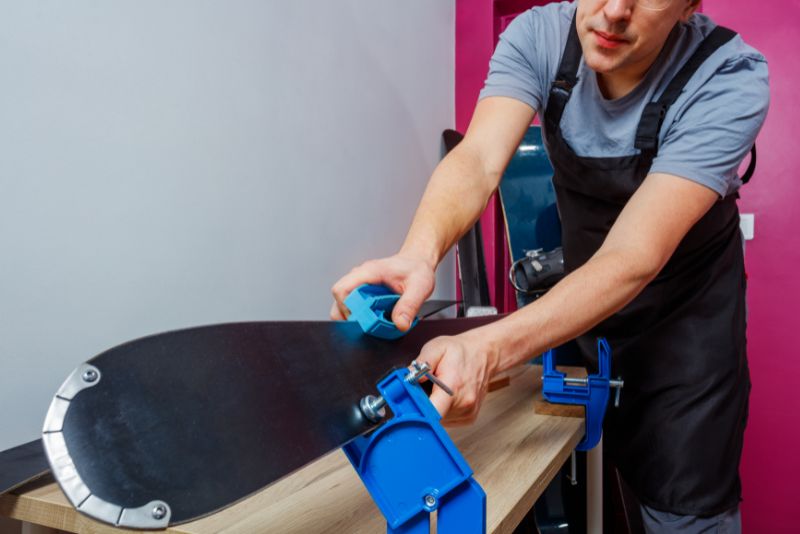
Step 2 – Clean Base
Once you have identified any significant repairs, it’s time to clean the old wax off the ski base, using a ski wax remover and a dry cloth, and wipe down the bottom of the ski.
Step 3 – Base Repair
Before doing more work on the ski, use an elastic band to pull the brakes up so they stay out of the way. Alternatively, you can clip one of your ski boots into the binding if you don’t have an elastic band.
Tools Needed
- Razor blade
- Cloth
- Base Cleaner or rubbing alcohol
- P-Tex
- Lighter or torch
- Metal Scraper
- Sandpaper
How to Repair the Base
1 – Cut Damaged Material
Cut the access material from the damaged area with the razor blade. You want to create a surface and edges for the new PTEX to bond to.
2 – Clean
Clean the base with the cloth and base cleaner.
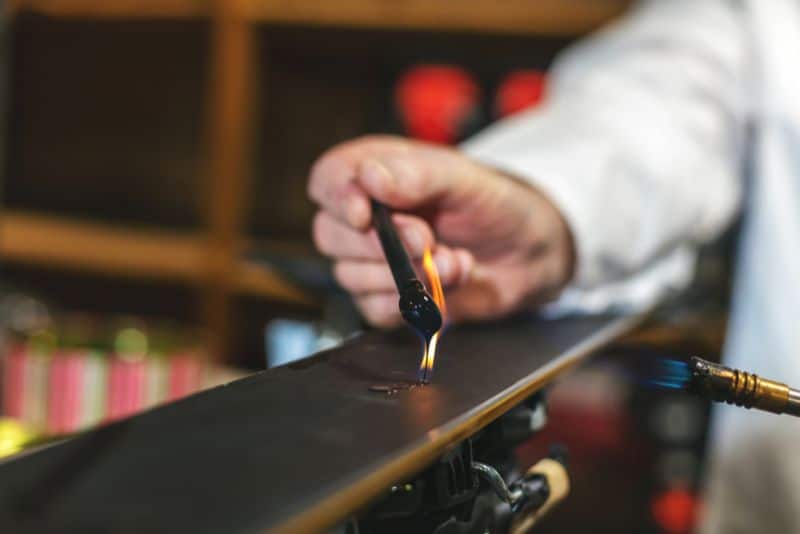
3 – Light Ptex
Ignite the P-tex with a lighter or torch. Make sure it doesn’t drip on you or the floor. Keep something underneath the stick while you move. I do this full over top of the ski so I don’t make a mess
4 – Fill
Fill the damaged area. Keep the P-Tex low and close to the ski and slowly fill it in. If the damage is deep, you must add multiple layers of p-tex to the area. Let each layer cool completely before applying the next. Make sure to overfill the area. Go beyond the edges of the damage, and you want it to pile up.
5 – Cut Away Excess Material
Cut away the excess using the razer blade.
6 – Shave and Sand
Shave the P-tex down even with the base using the metal scraper and finish it with sandpaper. Wrap the sandpaper around a wooden block to ensure it is flat.
Step 4 – Sharpen Edges
Tools
- File
- Diamond Stone
- Edge Guide
How to Sharpen Ski Edges
1 – Check For Damage
Check your edge for signs of damage. You are looking for gouges, rust, and burrs. If you run a cloth along the edge, it will catch in the problem areas.
2 – Choose an Edge Angle
Choose your edge angle. Side edges usually have an angle between 87 – 90. The further from 90 you go, the greater the grip of the ski. I recommend sticking to 90 unless you are experienced and know you want something more aggressive
3 – File The Side Edges
Clamp your file into the edge guide. Use the base of the ski and run the file down the edge from tip to tail. You want smooth, even movements. You will feel the file catch as you move it down the edge. It may not grip over burrs and damaged areas. Focus on these areas until the file moves smoothly.
4 – File the Base Edges
Using your base guide, install the file. The file runs flat along the ski base, with the guide maintaining the angle. Similar to the side edge, you want to use smooth movements and continue until you feel the file biting evenly along the whole edge
5 – Polishing
Repeat the process using your diamond stones once you have filed and set the side and base edge. Start with the coarsest stone and work your way to the finest.
A Diamond stone needs to be lubricated. Just dampen the stone before you start with a drop of water or two.
Repeat the process for all the edges.
Pro Tip:
Stay with the coarser stones longer.
Check sharpness with your fingernail. If you can scrape your fingernail, the edge is pretty sharp.
You may need to work the side and base edge back and forth to fix damaged areas.
Step 5 – Hot Waxing
No, we’re not talking about waxing your chest here.

Choosing Your Wax
Hot wax types are based on snow temperature (not ambient air temperature)
The best way to know what type of hot wax is to do a Google search for the snow temperature in your area.
Tools
- Wax
- Iron
- Metal or Plastic Scraper
- Brush
How to Wax Your Skis
1 – Heat The Iron
You want it to be hot, but you don’t want the wax to steam.
2 – Drip Wax Onto The Base
When the iron is hot, place a block of wax against the iron and let it melt. Hold the iron over the ski and leave a trail of drips on the base.
If you are waxing often, try melting the block on the iron and then rubbing it on the ski. It’s a great way to minimize the wax you put on the ski.
3 – Spread the Wax
Using the iron, place it directly onto the base. Remelt the dripped wax and spread it over the base evenly.
You can place your hand on the top sheet underneath to double-check the heat. You want it to be warm but not hot.
4 – Let the Wax Cool
Before you can scrape off the remaining wax, it needs to cool. Set your skis or snowboard off to the side for 5 minutes to let the wax harden
5 – Scrape
Using a metal scraper or plastic one, scrape away the excess wax.
5 – Brush
The final step is to brush your skis. Brush in the same direction up and down the ski to remove the last of the wax.
Store your skis read to pack for your next ski trip.
FAQ
How often should I tun my skis?
Skis should be tuned throughout the season when you feel the edges getting dull or you notice the ski slowing in the snow. You should do an end of season tun up before storing your skis for summer.
What do they do when they tune your skis?
Basic ski tuning involves:
- Waxing the base.
- Sharpening the edges for improved control.
- Repairing any damage caused by rocks or debris.
Most shops have machines that tune your skis.
How do I know if my skis need tuning?
If your skis are hard to turn or slide unevenly on snow, it’s likely time for a tune-up. Visible scratches or dull edges also indicate a need for servicing.
How do you tune skis step by step?
Tuning involves cleaning the ski bases, applying wax evenly, scraping off excess wax after cooling, brushing out remaining residue, and then sharpening and smoothing the edges.
Can you tune your skis at home?
Absolutely, with tools like scrapers, brushes, and files and some knowledge, ski maintenance is relatively easy. However, if there is significant or irreperable damage, you may not be able to tune your skis
Conclusion
Ski and snowboard tuning is a simple yet essential part of caring for your gear that will make all the difference on the slopes. With some essential tools, you can effectively tune your skis at home and keep them running smoothly throughout the winter season. Follow up with regular maintenance and always remember to use proper safety techniques while working with sharp edges.
See you on the slope!